This is my ‘responsible adult’ health & safety bit.
One of the best things about having a laser engraver is that you can zap stuff just to see what happens. One of the worst things? Accidentally melting and inhaling something toxic. I haven’t actually done this, but THE FEAR is always present. It’s probably been exacerbated by living in a house with asbestos in the artex and reading every scaremongering label and article known to man, or from that one time I broke an old-school thermometer and had to quickly google how to safely clear up a mercury spill.
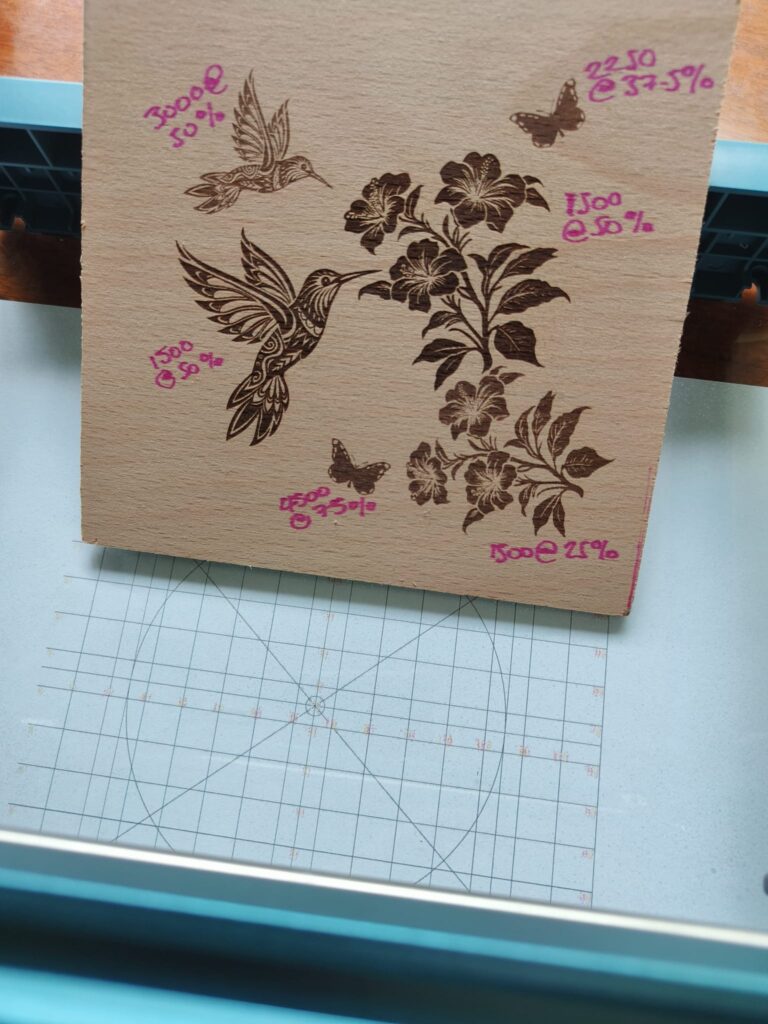
I’ve collected a decent pile of “maybe”s – scraps, offcuts, leftover bits from household DIY projects. Lots of things that invite experimentation.
Before I engrave anything I check what it’s made of. If I don’t know, I don’t burn it. Simple as that. Some materials release toxic fumes when lasered – especially plastics like PVC. Others, like vinyl, can produce hydrochloric acid (I’m having flashbacks to school chemistry lessons now). Even some coated woods or painted surfaces can be risky.
Quick Safety Checks:
- Look for diode-safe materials and avoid unknowns.
- Don’t engrave plastics.
- Check for coatings – if I’m not sure whether something is laser-safe I’ll sand it down. This is good to do regardless to give you a clean surface to work with.
- Ventilation is non-negotiable – Whether it’s a fan pointing at an open window or an extraction enclosure I make sure air moves out.
- Wear a mask – especially when testing new materials.
Materials I’ve Tested
- Wood offcuts – My go-to. I sand them lightly and check for coatings. Raw wood is generally fine. Plywood is great to work on, but glue layers can smell weird.
- MDF – really easy, good for very fine detail
- Fabric swatches – Natural fibres like cotton and denim will work, but lasering destroys part of the surface so they may not hold up through many washes. I avoid synthetic fabrics that might melt or release fumes, and test small pieces first. I haven’t tried leather yet because most of my scraps are black leather which aren’t the best candidates for engraving, but I know I’ve got some scraps of purple leather stashed away so I’ll give that a so at some point.
- Glass – needs to be coated first, I’ve got black chalk markers for this which work really well. There are epic plans for some salvaged toughened glass windows but I’m gonna need a big chunk of spare time for that.
- Mirror tile – one of my favourites. Looks great, works really well with text..
- Ceramic tile – like glass, needs to be prepped. I’ve tried a titanium dioxide/cleaning alcohol mix which turned out a little patchy/pale in places (through not having a very even layer). Coating with spray paint is next on the list.
- Slate – engraves beautifully but the dust is gnarly.
What I’ve learned
- Prep matters. Masking tape, sanding, and cleaning surfaces can make a huge difference in results.
- There isn’t a one size fits all setting so material tests are vital (Lightburn software takes the pain out of doing this).
- Mistakes are teachers. Don’t operate a laser when you’re tired! Luckily my only rookie mistakes so far have been software errors (like burning an image in negative by forgetting to invert it in the software), and forgetting to tighten the laser unit after focusing it, and it slipping mid-burn and knocking the material out of place.
- Ventilate, ventilate, ventilate. Some of the pics/vids show the laser without an enclosure on – what you can’t see/hear when that’s happening is the fan blowing the crud out of the window or the safety gear I’m using.
Leave a Reply