A lot of what I make – engraved pieces, jewellery, or bits of garden furniture – starts with something that is either left over or adapted from its original purpose. The wood I engrave is often scrap from DIY projects – offcuts, test pieces, bits that might otherwise end up being disposed of.
I like to try to keep a sustainable mindset and work with what I’ve got, finding creative ways to repurpose and reimagine. I don’t like seeing anything with life left in it going to waste and my goal is always to keep useful things out of landfill.
Now, I love a notebook, especially if it’s sturdy enough to write without needing something to lean it on, so I decided to chop up some pre-used bits of 3mm ply so that I could make notebooks from printer paper. In small sizes it feels pretty solid, and of course it engraves really nicely.
What I Used:
- 3mm ply ( recycled from my first DIY laser enclosure)
- Recycled A4 printer paper cut down to A5/A7
- Mini table saw
- 0.6 inch binder rings
- 2.5mm and 5mm drill bits
- 180 grit sandpaper
- Rust-Oleum Crystal Clear protective coat
What I Did
- Cut the ply to size
- Made a drilling template tailored to the diameter of the binder rings (to ensure that the cover could lie flat when opened)
- Clamped all the parts together then drilled through the wood and paper together
- Prepared artwork in an A6 template
- Dialled in settings and engraved the cover
- Wiped down the finished cover, sprayed it with protective coating and left to dry
- Assembled the notebook
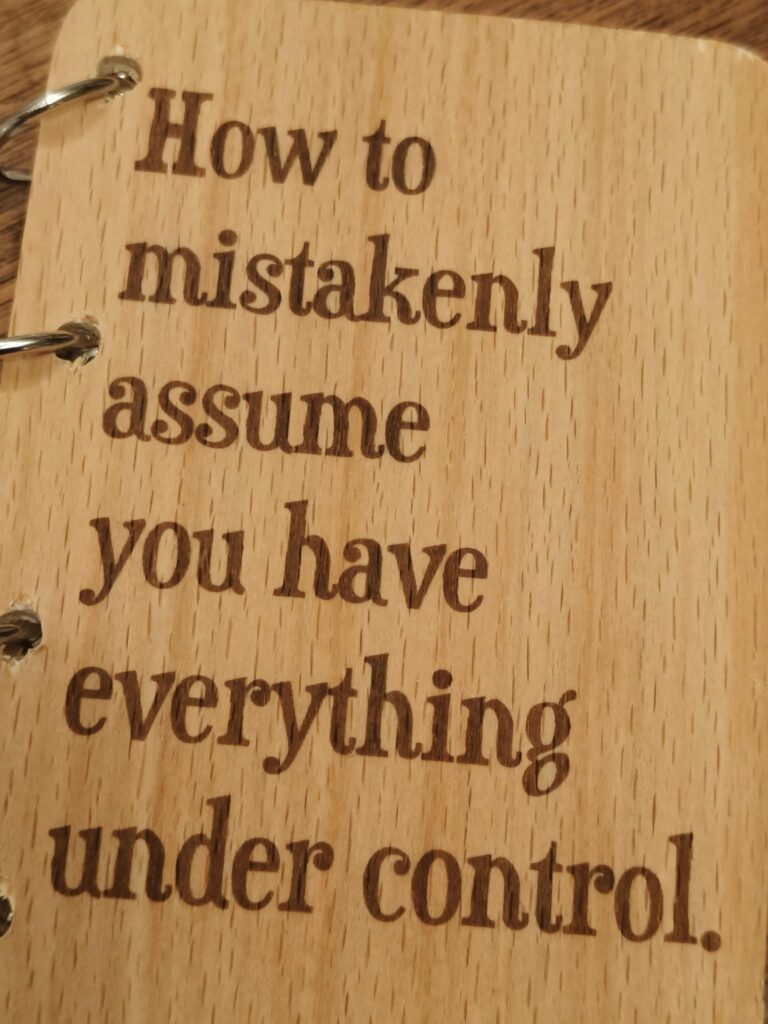
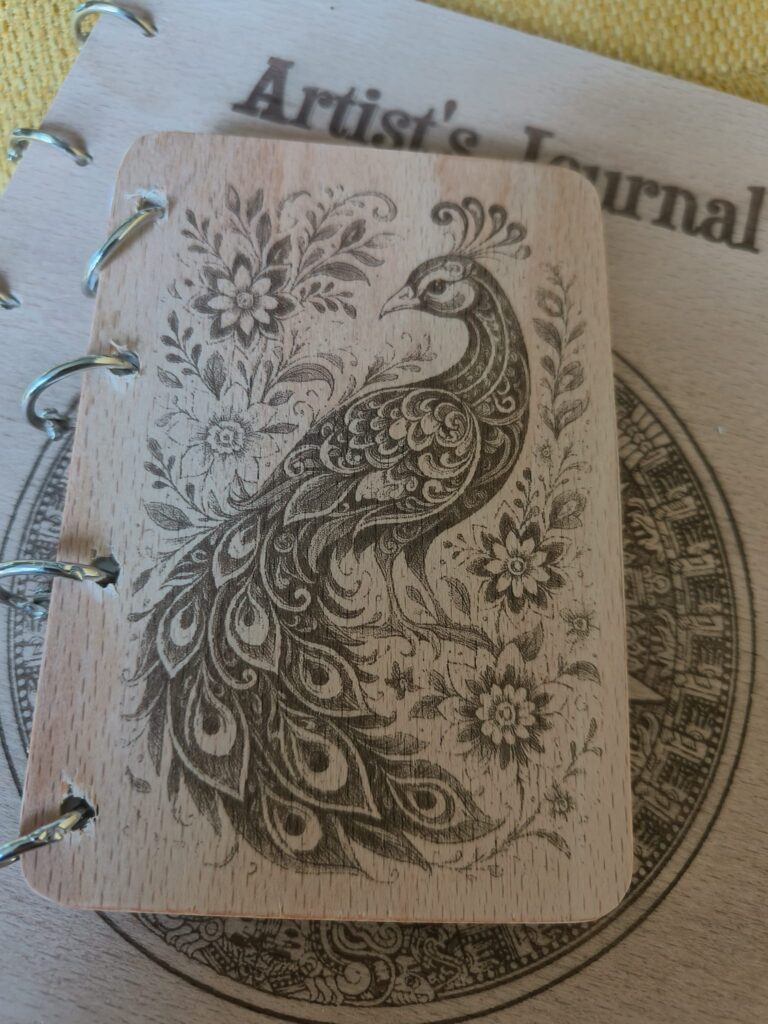
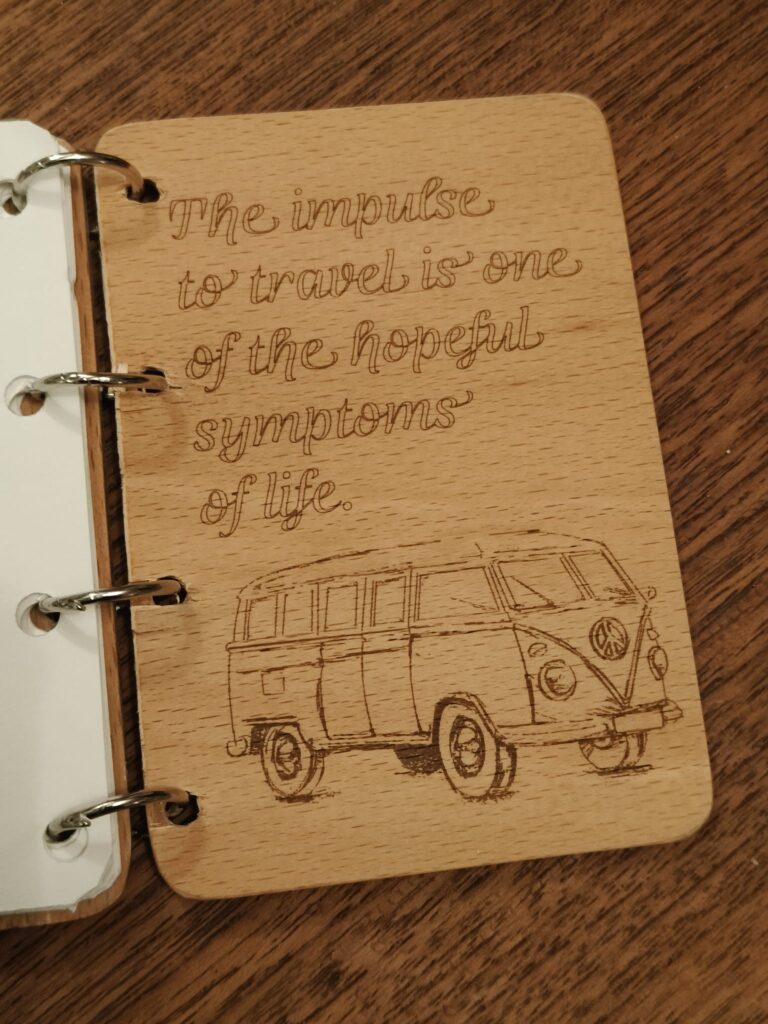
Here are the first couple of attempts – I tried a few different things on the front and back covers. The second image shows the covers before the protective coat was added, it darkens/warms the wood colour.
What I Learned
- Use appropriate tools for the job. Obvious, huh? Working with thin wood and small pieces, a hobby table saw can prevent a lot of cursing. I am getting into the habit of cutting bigger pieces of ply up by hand with a larger saw, then using the mini saw just for finishing the edges, that way I don’t put too much stress on the blade.
- Extra prep – using masking tape (to stop the ply splintering when I drilled) would have been a good move here, and something I’ll definitely do next time around.
- Measuring is not optional, no matter how confident you are that you can eyeball something accurately!
- Don’t rush!
- Timesaving software hacks – I now have different settings in Lightburn for different sized projects, so that I don’t have to think too hard about where on the grid to put my artwork to get perfect placement.
- Triple check that the laser and grid are lined up properly, it’s all very well laying your material out perfectly on the grid, but if you then nudge the laser slightly it’s all for nothing. Ask me how I know…
What’s Next
I tried out A5 and A7 notebooks as this worked with the sizes of the scraps I had.
I preferred the feel of the A5 book to the A7. For the A7, the 0.6 inch binder rings move around too much, so I’m going to add extra pages to look for the sweet spot. If it’s still not quite right I may experiment with stitching and binding the paper instead – or maybe just move up a size to A6 and see how that works too, as it would still be small enough to fit in a bag or large pocket.